|
You can change the appearance of the header by clicking on the "Advanced Header upload interface". 
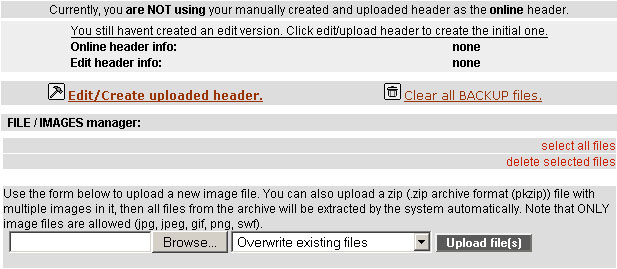
1. Click on "Edit/Create uploaded header". You will see a form where you should write the html code for your custom header. Don`t forget to put the html tag. If you want to use the factline special tags, please write <advancedparser/><html>your code</html>. 2. Click on "Save changes". 3. You will be redirected to the main menu: 
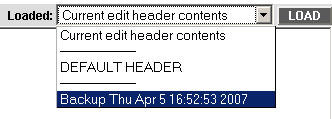
4. Click on "START using the uploaded header". Now your custom header is active on your platform. 5. You can return to the default header by clicking "Stop using the uploaded header and switch to default" or you can make further changes to your header by clicking on "Edit/Create uploaded header". 6. You can use a previous version of the header, by choosing the backup file after you click on "Edit/Create uploaded header":  7. If you want to upload images for the header, use the file manager and click on "Update images LIVE", otherwise the images won`t be visible. 
|

